开源工具集
OpenVPN
IPSecVPN
ELK日志分析平台
elasticsearch
kibana
logstash
filebeat
Loki日志分析平台
蓝鲸
麦聪DaaS
SQLynx
Spug(运维平台)
JumpServer(堡垒机)
DataEase(数据分析)
1Panel(运维管理面板)
MeterSphere(持续测试)
Syncthing同步神器
matomo(网站访问统计系统)
Yapi接口管理平台
Sentry前端监控平台
Frp内网穿透
Frp使用示例
FileBrowser轻量文件管理
code-server在线VSCODE
Swagger UI可视化API
GoReplay流量重现
GitLab代码仓库
GOGS(Git服务器)
Confluence(知识管理协作)
RouterOS路由器(MikroTik)
go-fastdfs(fileserver)
本文档使用MrDoc发布
返回首页
-
+
Syncthing同步神器
2020年5月13日 13:26
admin
#下载 >##下载网址:[传送门](https://syncthing.net/downloads/ "传送门") >####选择所需要的安装包,下载 > --- #安装 >##WINDOS客户端 运行SyncTrayzorSetup-x64.exe安装程序。 --- >##LINUX客户端 >####1.解压安装包 tar -zxvf syncthing-linux-amd64-v1.5.0.tar.gz >####2.转移安装目录 rm -rf syncthing-linux-amd64-v1.5.0.tar.gz mv syncthing-linux-amd64-v1.5.0 /usr/local/syncthing cd /usr/local/syncthing ./syncthing #初次启动,是为了创建配置文件 >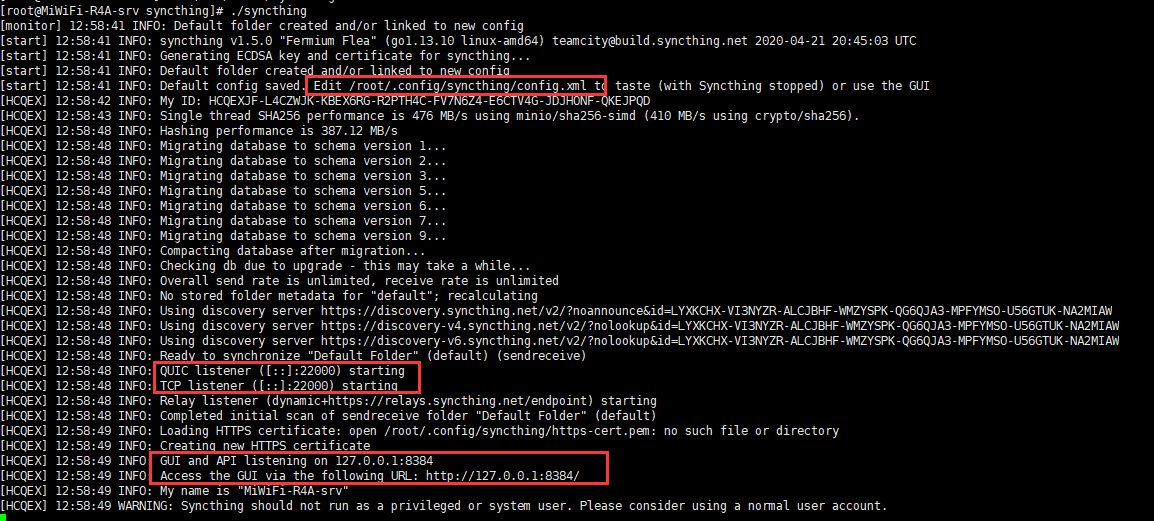 >####3.修改配置文件 >#####再输入 Ctrl + C 退出 Syncthing,因为在默认的情况下Syncthing是只能本机访问的,所以这里要修改一下配置文件 vim /root/.config/syncthing/config.xml > >####找到以上位置,将 127.0.0.1:8384 改位 0.0.0.0:8384 --- #运行 >##Syncthing默认监听以下几个端口 22000 (TCP) #节点访问端口 8384 (TCP) #Web访问控制端口 >##启动与停止 >####启动 mkdir -p /var/log/syncthing/ #创建日志目录 touch /var/log/syncthing/sync.log #创建日志文件 /usr/local/syncthing/syncthing &> /var/log/syncthing/sync.log & #启动 >####停止 ps -ef | grep syncthing kill <syncthing进程id> #使用 >##WINDOWS使用: >####直接打开 > ######-------------------------------------------------------------- >####界面如下 > --- >##LINUX使用: >####浏览器打开:<服务器IP>:8384 >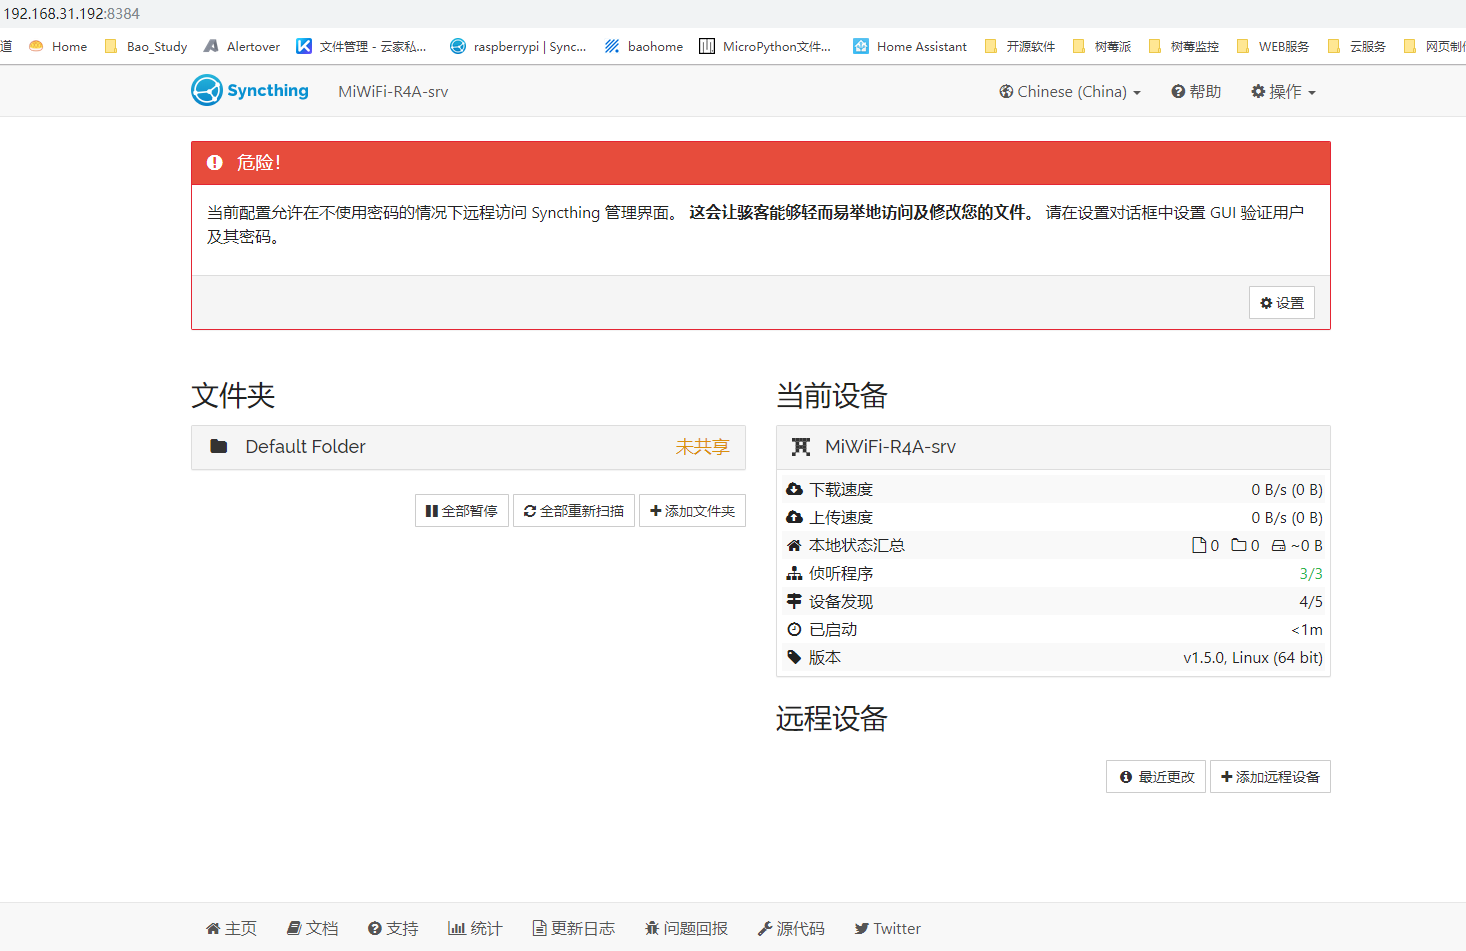 --- >##一、添加所需同步的文件夹 >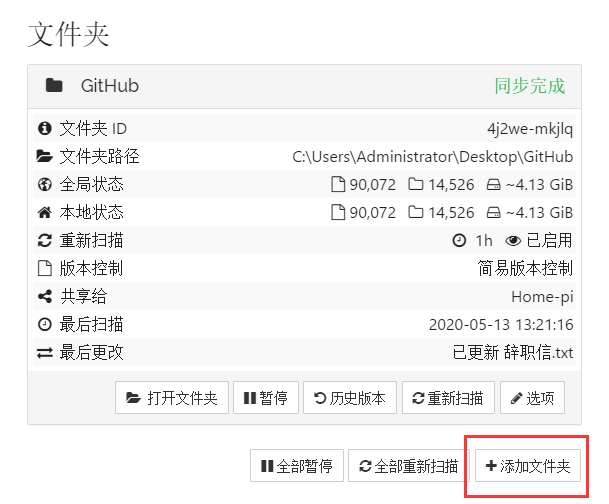 --- >##二、添加远程设备 >####1、填入远程设备的设备ID和设备名,设备ID可从远程设备的右上角:操作-显示ID >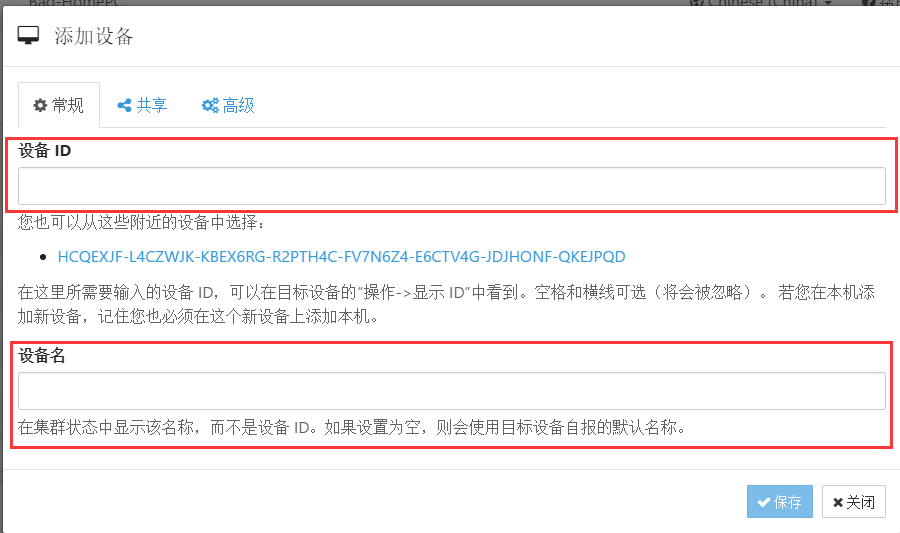 >####2、添加所需要同步的文件 > >####3、添加远程设备的服务地址 >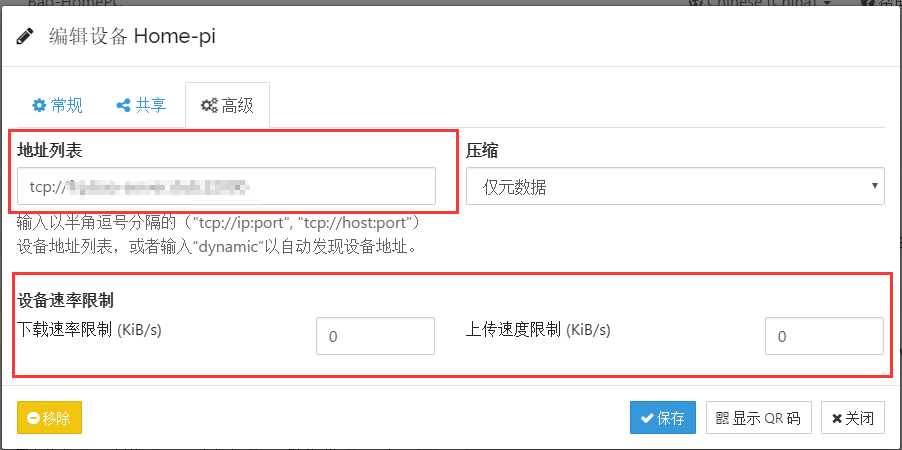
分享到: