开源工具集
OpenVPN
IPSecVPN
ELK日志分析平台
elasticsearch
kibana
logstash
filebeat
Loki日志分析平台
蓝鲸
麦聪DaaS
SQLynx
Spug(运维平台)
JumpServer(堡垒机)
DataEase(数据分析)
1Panel(运维管理面板)
MeterSphere(持续测试)
Syncthing同步神器
matomo(网站访问统计系统)
Yapi接口管理平台
Sentry前端监控平台
Frp内网穿透
Frp使用示例
FileBrowser轻量文件管理
code-server在线VSCODE
Swagger UI可视化API
GoReplay流量重现
GitLab代码仓库
GOGS(Git服务器)
Confluence(知识管理协作)
RouterOS路由器(MikroTik)
go-fastdfs(fileserver)
本文档使用MrDoc发布
返回首页
-
+
GitLab代码仓库
2022年4月17日 11:12
admin
#官网 https://docs.gitlab.cn/jh/install/docker.html ## 安装 ####先决条件 Docker 是必需的。查看官方安装文档。 --- ####设置卷位置 在设置其他所有内容之前,请配置一个新的环境变量 $GITLAB_HOME,指向配置、日志和数据文件所在的目录。 确保该目录存在并且已授予适当的权限。 对于 Linux 用户,将路径设置为 /opt/gitlab: mkdir -p /opt/gitlab export GITLAB_HOME=/opt/gitlab --- GITLAB_HOME 环境变量应该附加到您的 shell 的配置文件中,以便它应用于所有未来的终端会话: echo "export GITLAB_HOME=/opt/gitlab" >> ~/.bash_profile --- ####极狐GitLab 容器使用主机装载的卷来存储持久数据: |本地位置|容器位置|使用 |--|-- |$GITLAB_HOME/data|/var/opt/gitlab|用于存储应用程序数据。 |$GITLAB_HOME/logs|/var/log/gitlab|用于存储日志。 |$GITLAB_HOME/config|/etc/gitlab|用于存储极狐GitLab 配置文件。 --- #安装GitLab ####极狐GitLab Docker 镜像可以通过多种方式运行: --- ##使用 Docker Engine 安装极狐GitLab docker run --detach \ --hostname gitlab.example.com \ --publish 443:443 --publish 80:80 --publish 22:22 \ --name gitlab \ --restart always \ --volume $GITLAB_HOME/config:/etc/gitlab \ --volume $GITLAB_HOME/logs:/var/log/gitlab \ --volume $GITLAB_HOME/data:/var/opt/gitlab \ --shm-size 256m \ registry.gitlab.cn/omnibus/gitlab-jh:latest --- ####访问极狐GitLab URL,并使用用户名 root 和来自以下命令的密码登录: sudo docker exec -it gitlab grep 'Password:' /etc/gitlab/initial_root_password --- ##注意:密码文件将在 24 小时后的第一次重新配置运行中自动删除。 --- ##使用 Docker Compose 安装极狐GitLab ####创建一个 docker-compose.yml 文件 vim docker-compose.yml --- version: '3' services: web: image: 'registry.gitlab.cn/omnibus/gitlab-jh:latest' restart: always hostname: '172.16.2.163' environment: GITLAB_OMNIBUS_CONFIG: | external_url 'http://172.16.2.163:20080' # Add any other gitlab.rb configuration here, each on its own line ports: - '172.16.2.163:20080:80' - '172.16.2.163:20443:443' - '172.16.2.163:20022:22' volumes: - '/opt/gitlab/config:/etc/gitlab' - '/opt/gitlab/logs:/var/log/gitlab' - '/opt/gitlab/data:/var/opt/gitlab' shm_size: '256m' --- ####确保您在与 docker-compose.yml 相同的目录下并启动极狐GitLab: docker compose up -d --- ####修改默认端口及url version: '3' services: web: image: 'registry.gitlab.cn/omnibus/gitlab-jh:latest' restart: always hostname: 'gitlab.example.com' environment: GITLAB_OMNIBUS_CONFIG: | external_url 'http://172.16.2.163:8929' gitlab_rails['gitlab_shell_ssh_port'] = 2224 ports: - '8929:8929' - '2224:22' volumes: - '$GITLAB_HOME/config:/etc/gitlab' - '$GITLAB_HOME/logs:/var/log/gitlab' - '$GITLAB_HOME/data:/var/opt/gitlab' shm_size: '256m' --- ####访问极狐GitLab URL,并使用用户名 root 和来自以下命令的密码登录: sudo docker exec -it gitlab grep 'Password:' /etc/gitlab/initial_root_password --- ##注意:密码文件将在 24 小时后的第一次重新配置运行中自动删除。 --- ##在公共 IP 地址上运行极狐GitLab ####您可以通过修改 --publish 标志让 Docker 使用您的 IP 地址并将所有流量转发到极狐GitLab 容器。 ####要在 IP 198.51.100.1 上公开极狐GitLab: docker run --detach \ --hostname gitlab.example.com \ --publish 198.51.100.1:443:443 \ --publish 198.51.100.1:80:80 \ --publish 198.51.100.1:22:22 \ --name gitlab \ --restart always \ --volume $GITLAB_HOME/config:/etc/gitlab \ --volume $GITLAB_HOME/logs:/var/log/gitlab \ --volume $GITLAB_HOME/data:/var/opt/gitlab \ --shm-size 256m \ registry.gitlab.cn/omnibus/gitlab-jh:latest ####然后,您可以通过 http://198.51.100.1/ 和 https://198.51.100.1/ 访问您的极狐GitLab 实例。 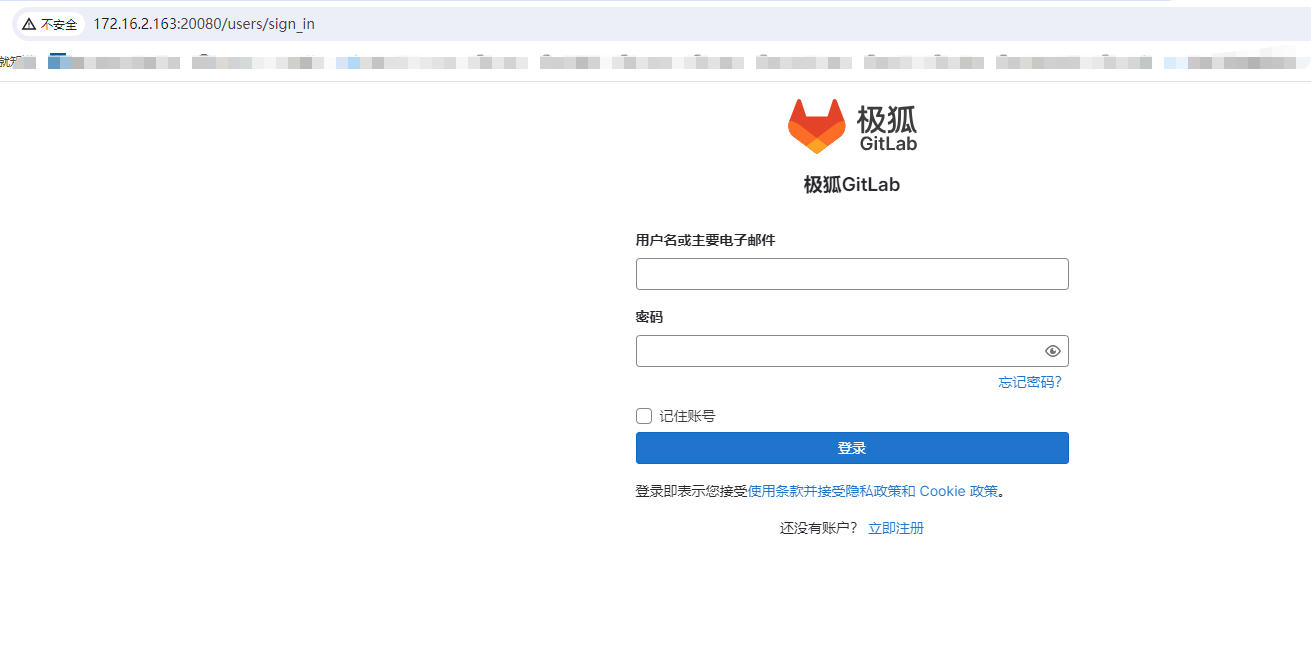 --- ##设置中文 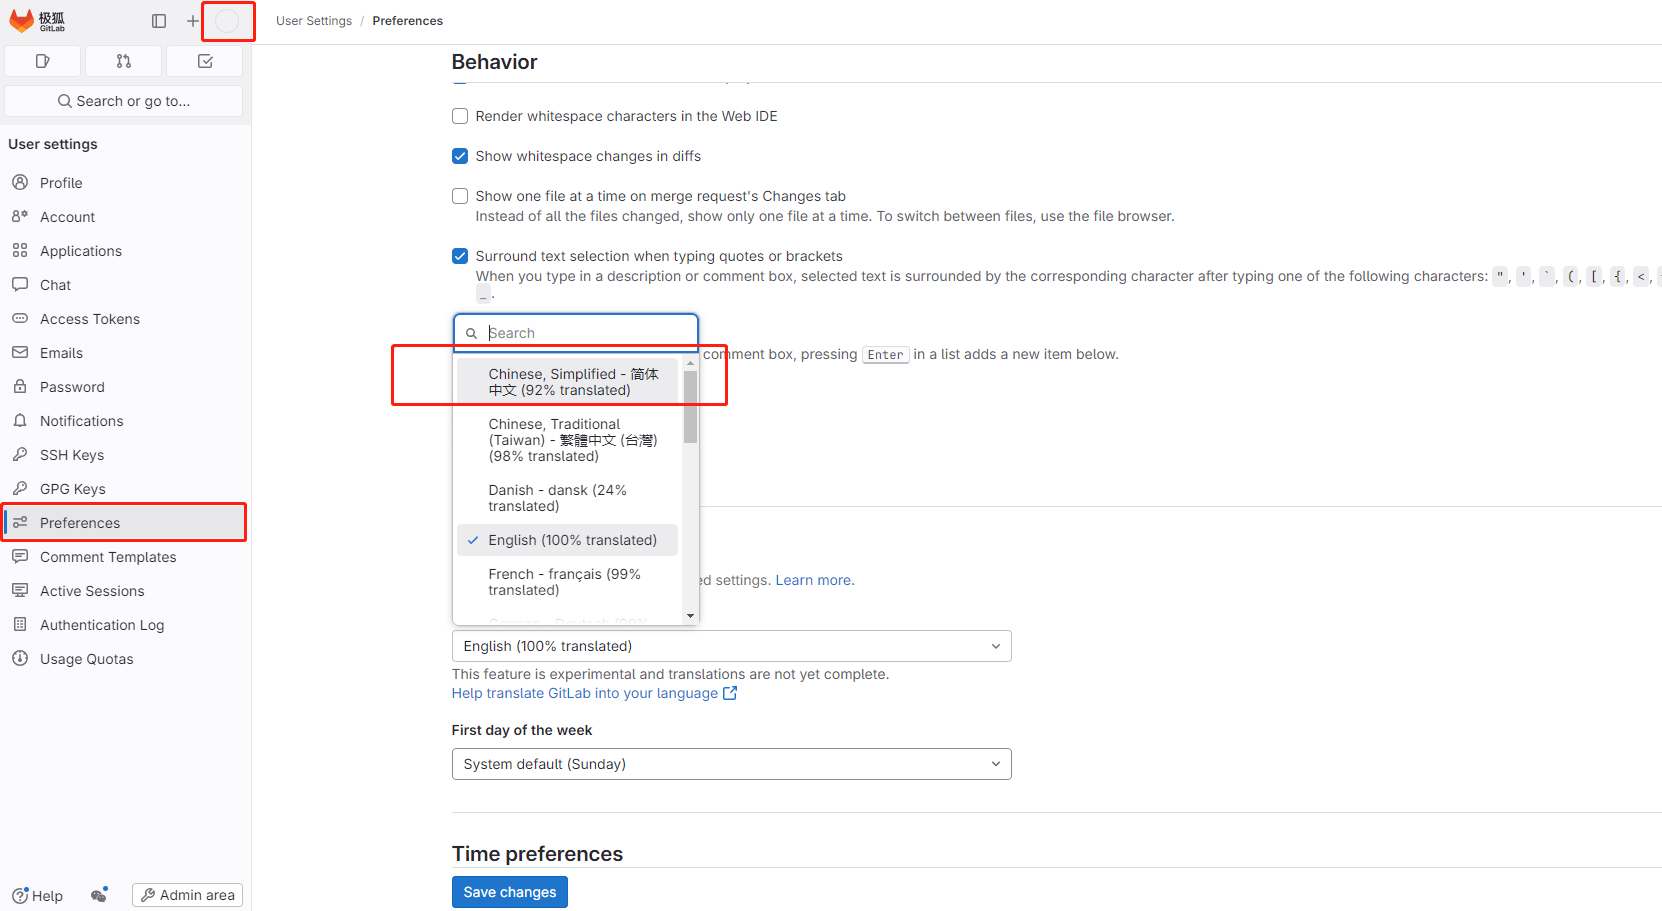
分享到: